Guide to Using the Balance AI Bridge (BAI > wBAI)
This guide provides a detailed overview of how to convert the native BalanceAI Chain token (BAI) into wrapped BAI (wBAI) on Ethereum via our bridge.
Important Notes
- The process does not work with amounts less than 0.123 (the fee).
- The exact fee on the ETH side is: 0.123000321.
- The fee is burnt forever.
- Due to timing on the ETH network, some processes may take time to sync in the BalanceAI dashboard. Please allow 1 to 20 minutes for the transactions to be displayed correctly.
- The teleport time is 12h, the claim on other chain is possible after that time.
Access the BalanceAI Dashboard via:
Mainnet
https://dashboard.balanceai.network
Testnet
Please contact us on Discord for access to testing features
Important Notes
Before starting the process, If you need a wallet, read this sections where we recommend the Polkadot.js extension:
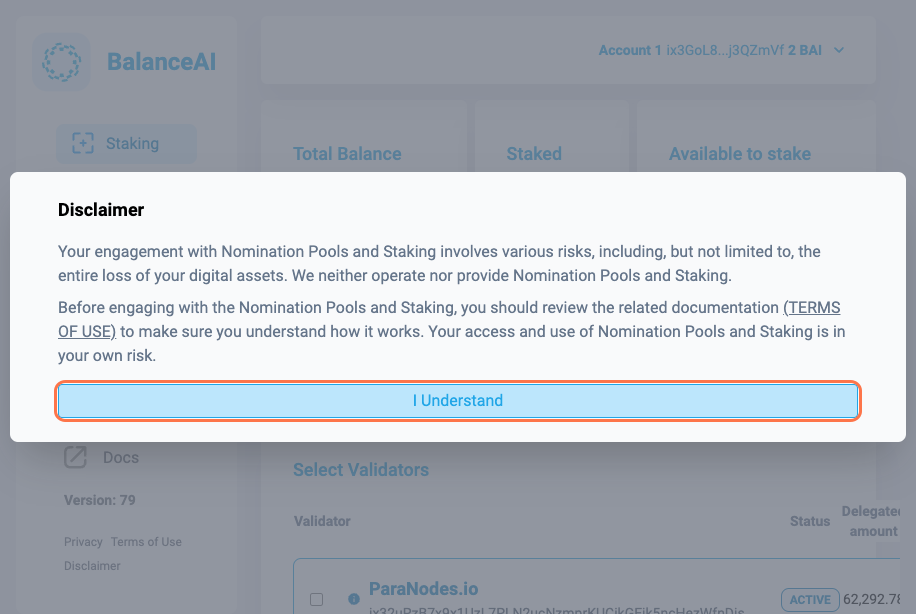
1. Read Disclaimer and agree to the terms
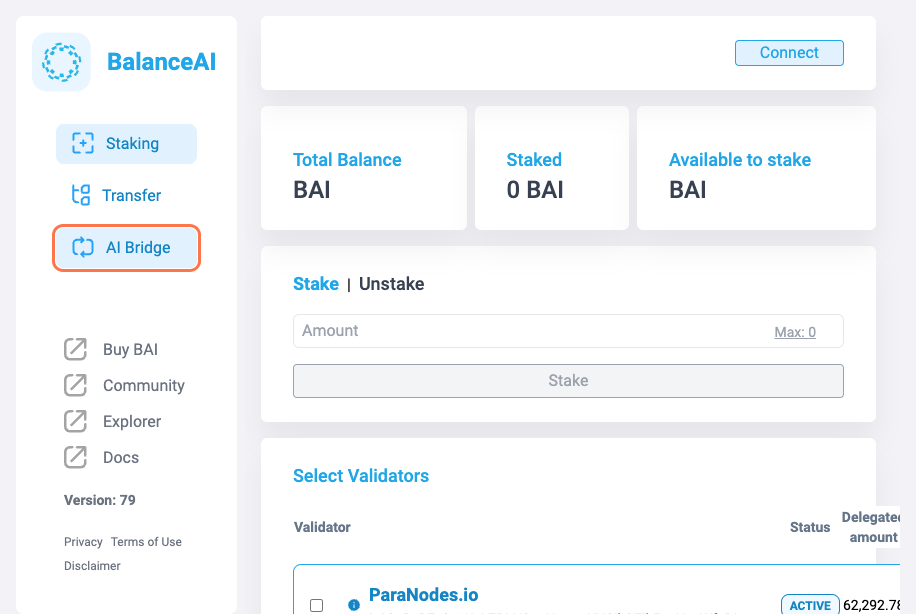
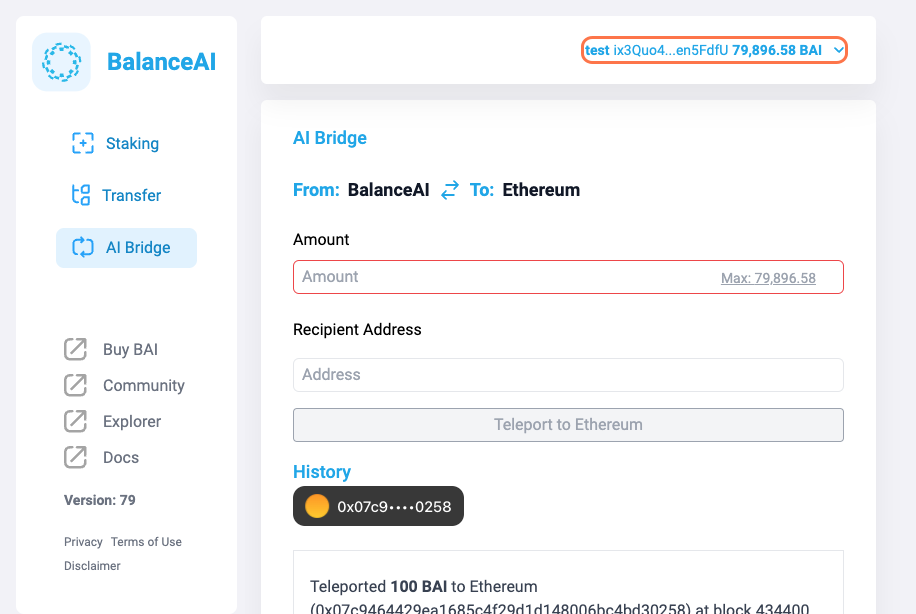
2. Click on AI Bridge
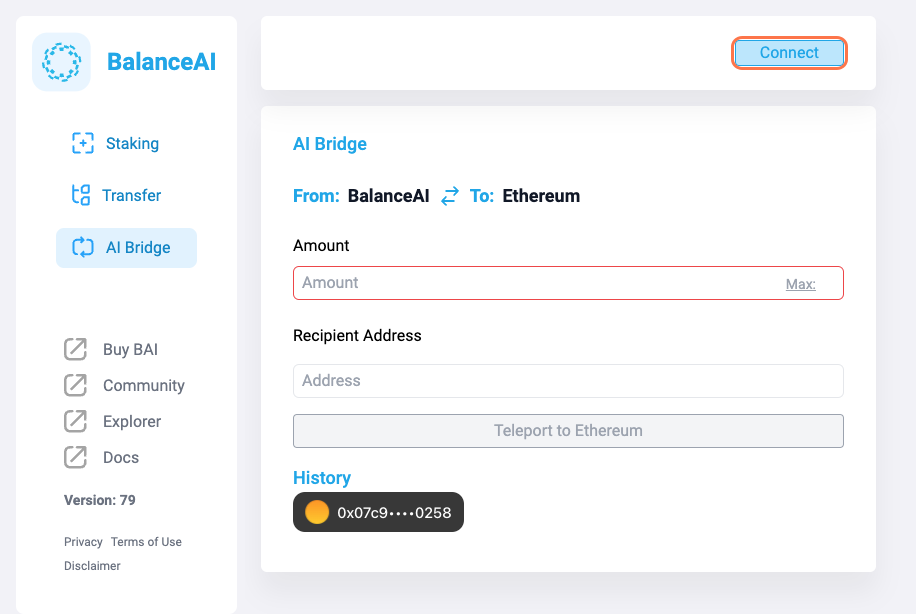
3. Be sure your settings are preset From:BalanceAI To:Ethereum

4. Click the Connect button at the top right of the dashboard to authorize your BalanceAI wallet connection.
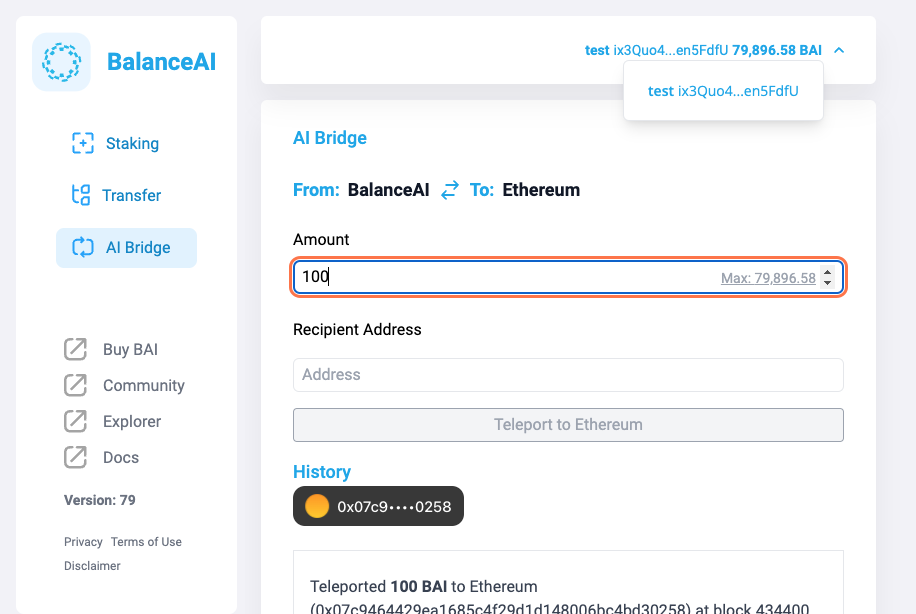
5. Verify your connection…
6. Enter your desired amount
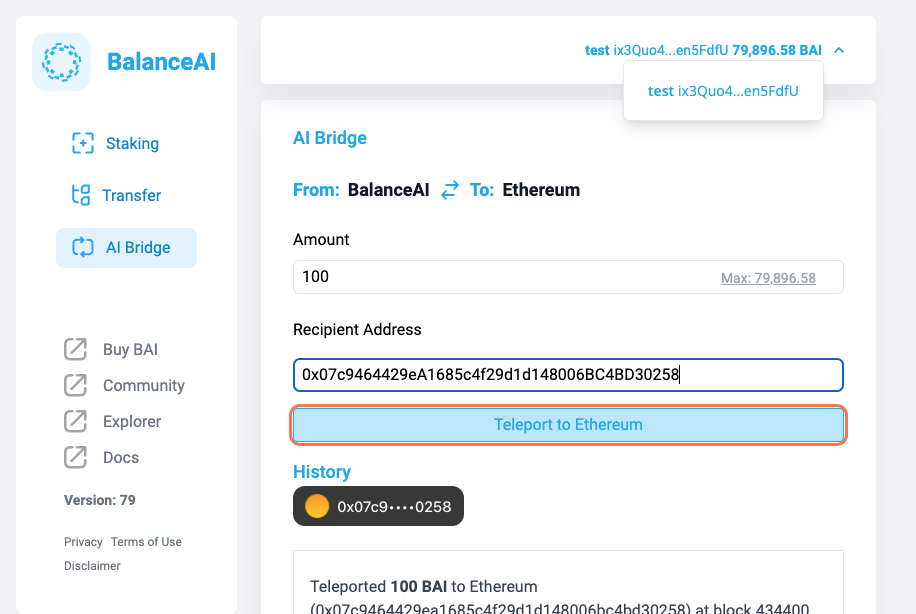
7. Insert your Ethereum wallet address

8. Click on Teleport to Ethereum
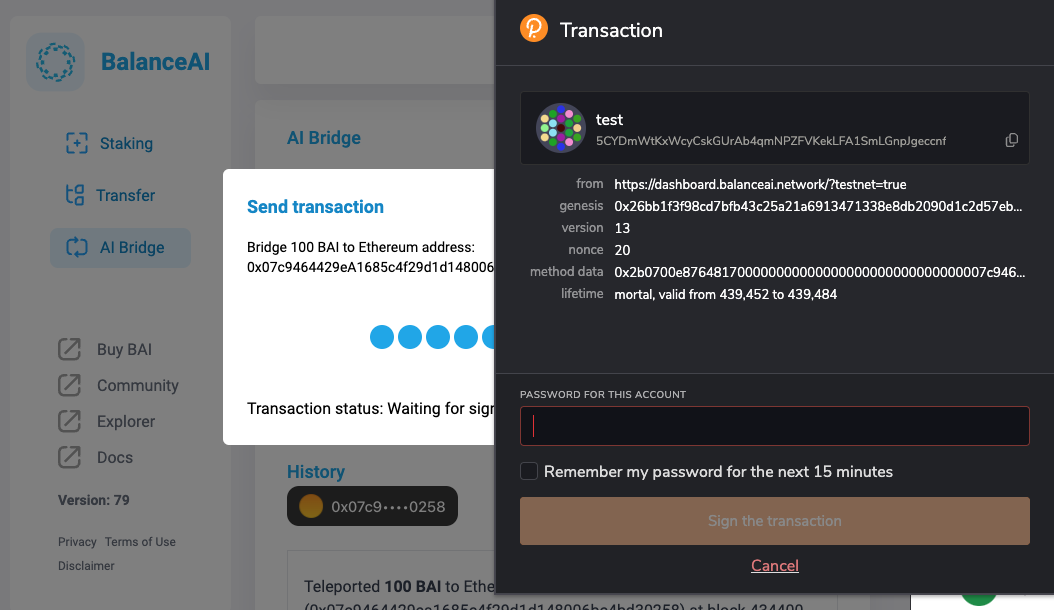
9. A Send transaction pop-up will appear…
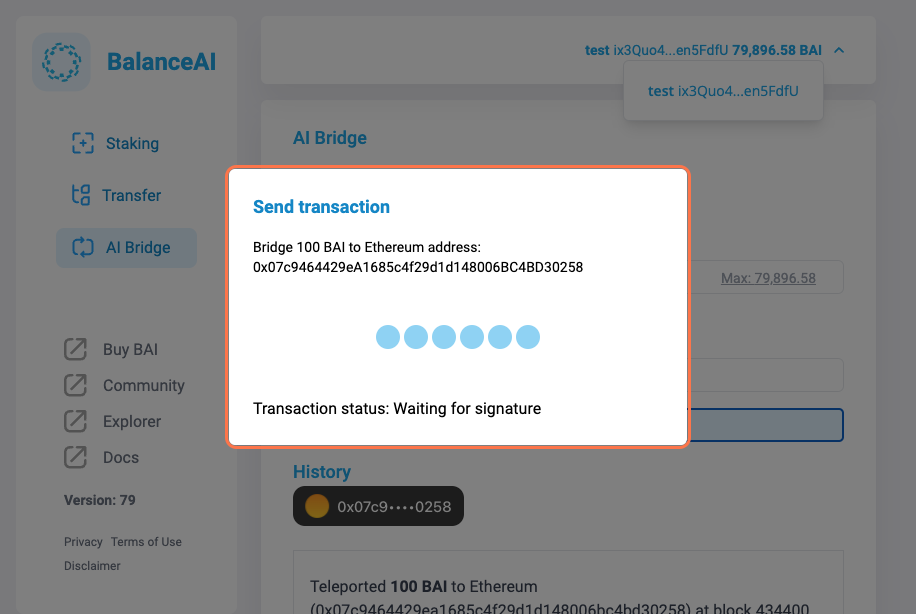
10. Sign your transaction
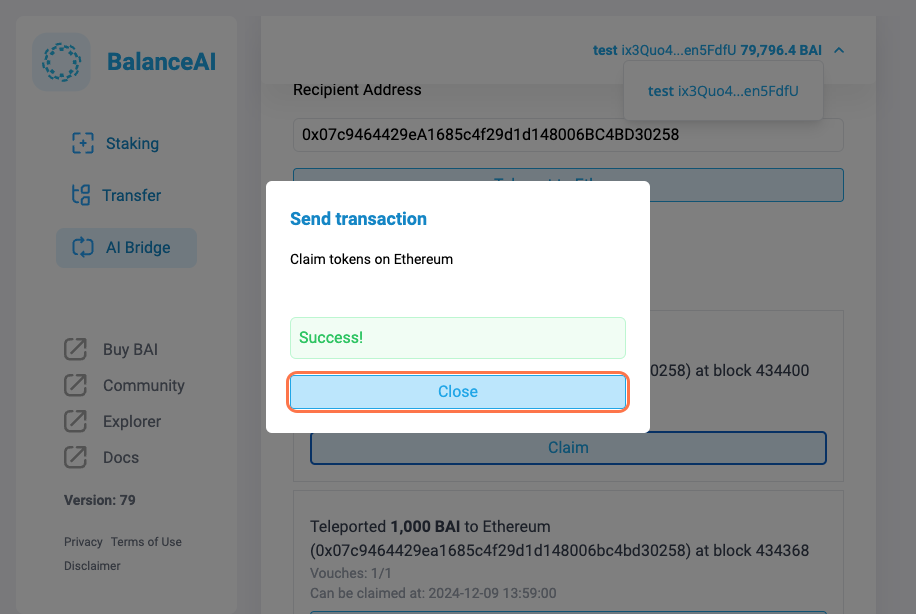
11. Once the success pop-up appears, click close

12. Check out your pending claim transactions.
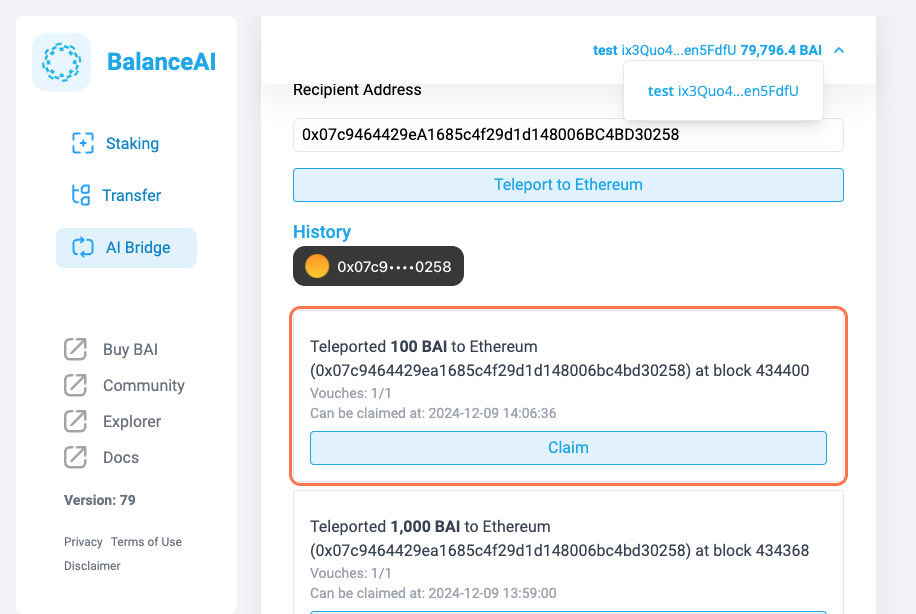
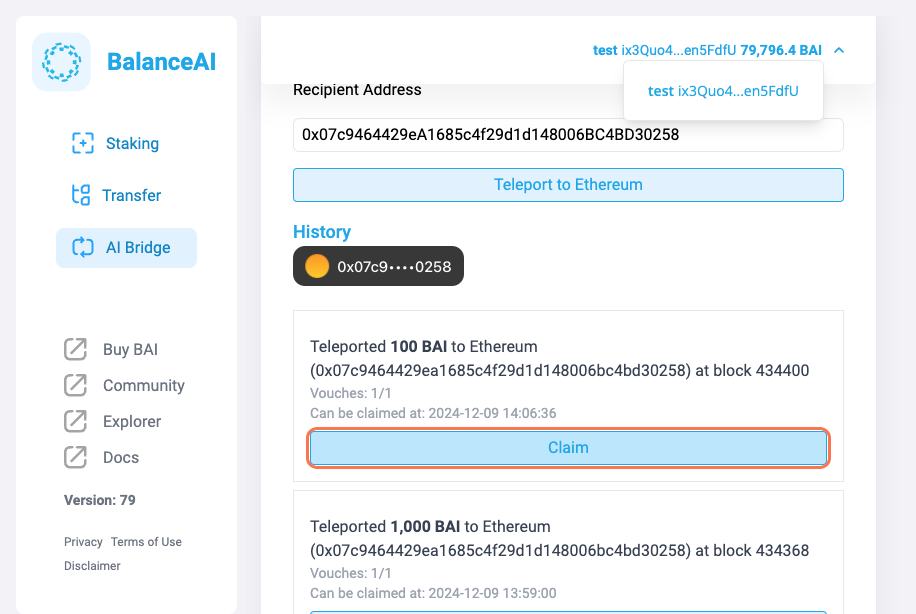
13. Click on Claim
14. A Send transaction pop-up will appear…
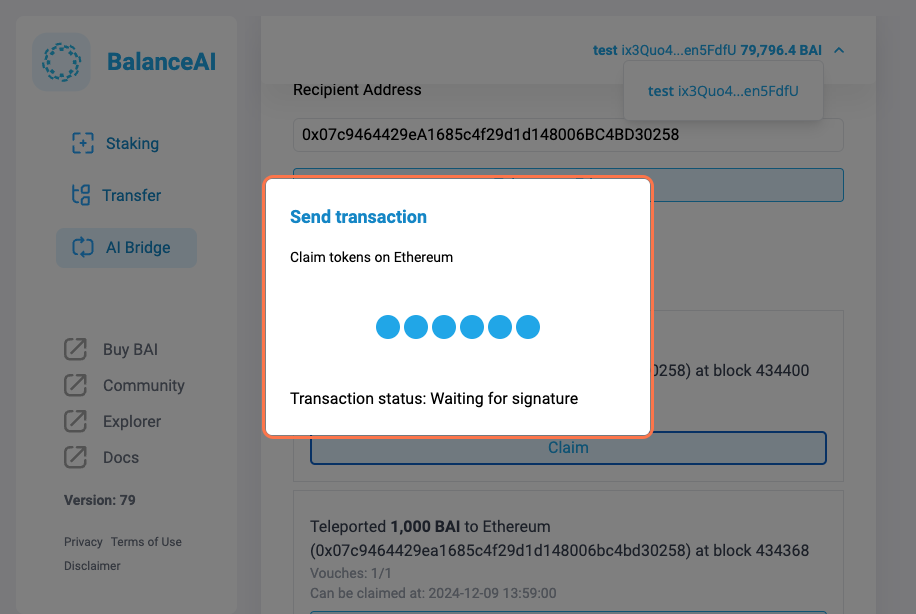
15. Sign your transaction on the Ethereum wallet side

16. Click on Close