Guide to Using the BalanceAI Bridge (wBAI > BAI)
This guide provides a detailed overview of how to convert wrapped BAI (wBAI) on Ethereum into the native BalanceAI Chain token (BAI) via our bridge.
Important Notes
- The process does not work with amounts less than 0.123 (the fee).
- The exact fee on the ETH side is: 0.123000321 wBAI.
- The fee is burnt forever.
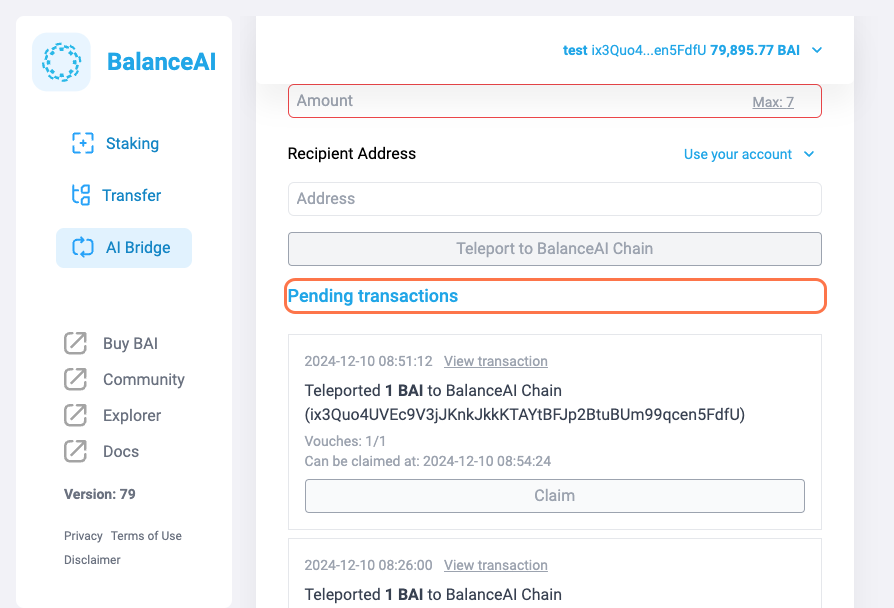
- Due to timing on the ETH network, some processes may take time to sync in the BalanceAI dashboard. Please allow 1 to 20 minutes for the transactions to be displayed correctly, and consider refreshing the page to get the latest status updates on your processes.
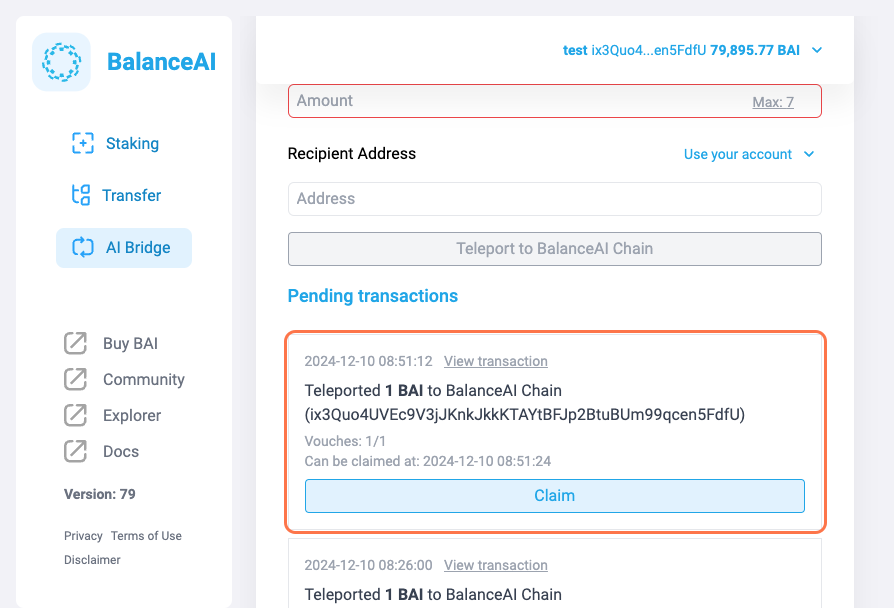
- The teleport time is 12h, the claim on other chain is possible after that time.
Access the BalanceAI Dashboard via:
Mainnet
https://dashboard.balanceai.network
Testnet
Please contact us on Discord for access to testing features
Important Notes
Before starting the process, If you need a wallet, read this sections where we recommend the Polkadot.js extension:
1. Read Disclaimer and agree to the terms
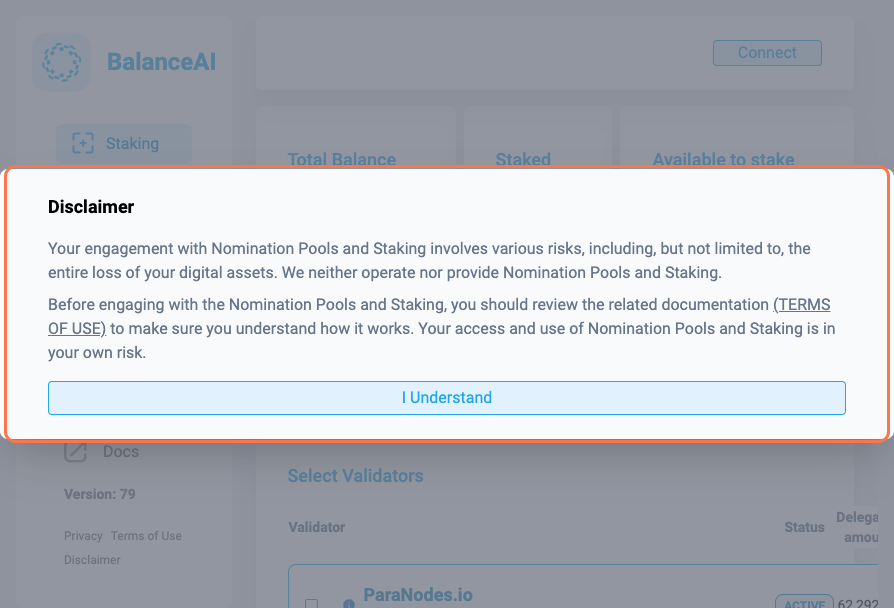
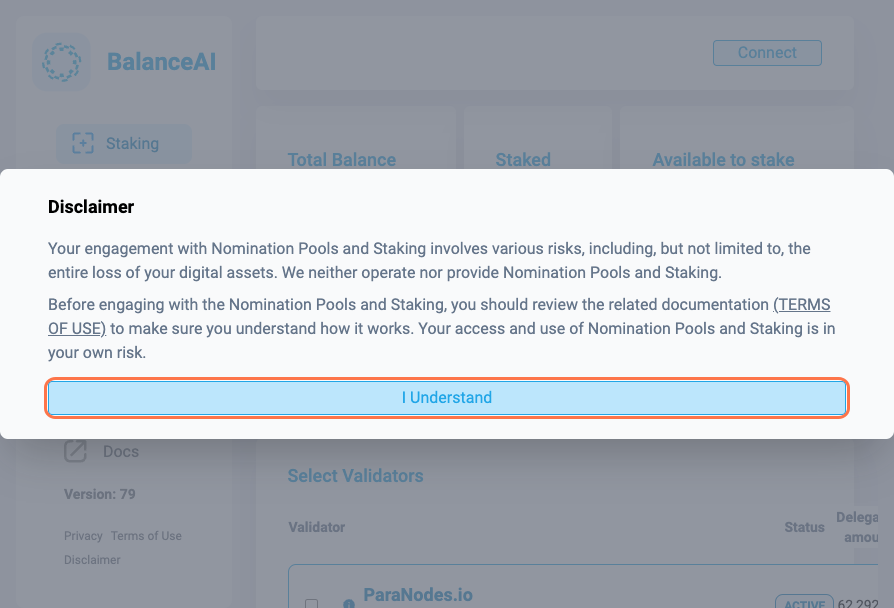
2. Click on I Understand
3. Click on AI Bridge

4. Be sure your settings are preset From: Ethereum To: BalanceAI
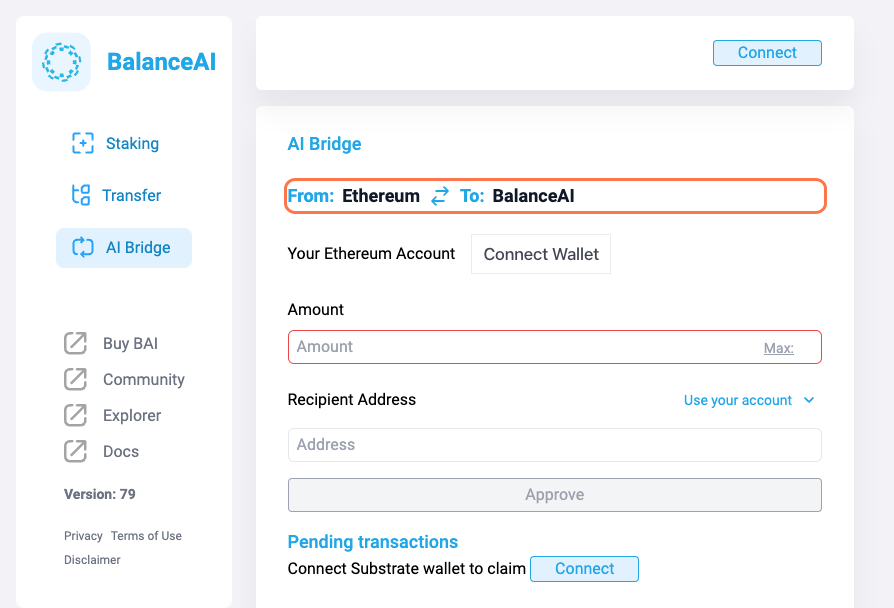
5. Click the Connect button at the top right of the dashboard to authorize your BalanceAI wallet connection.
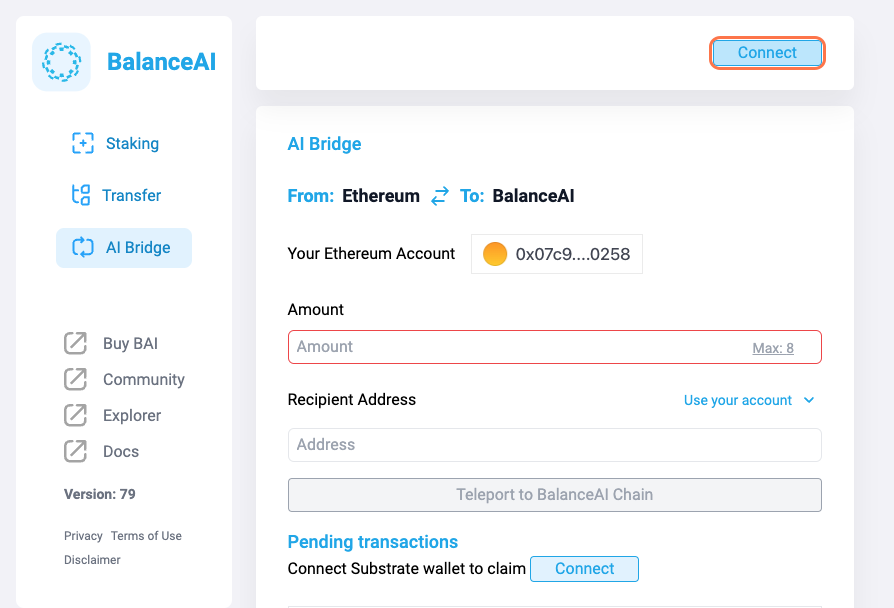
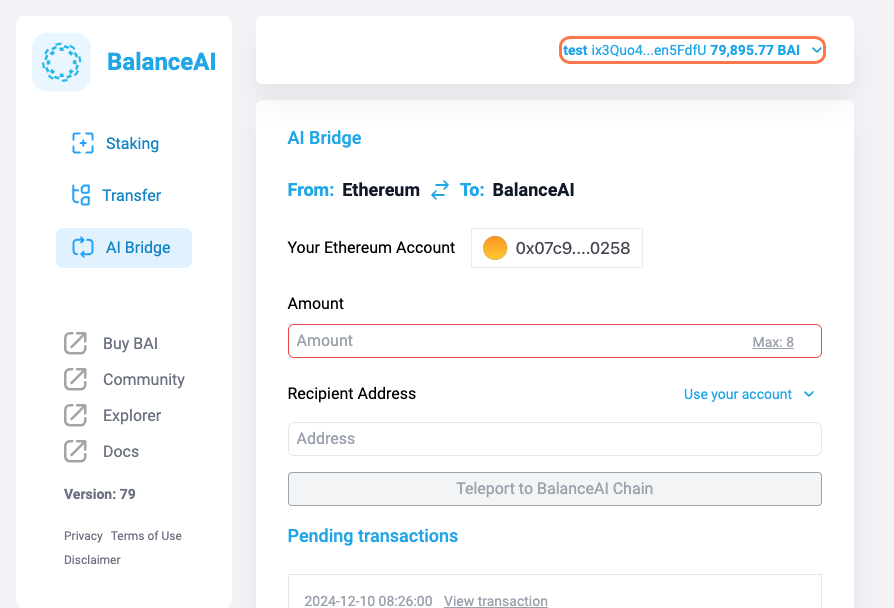
6. Verify your connection…
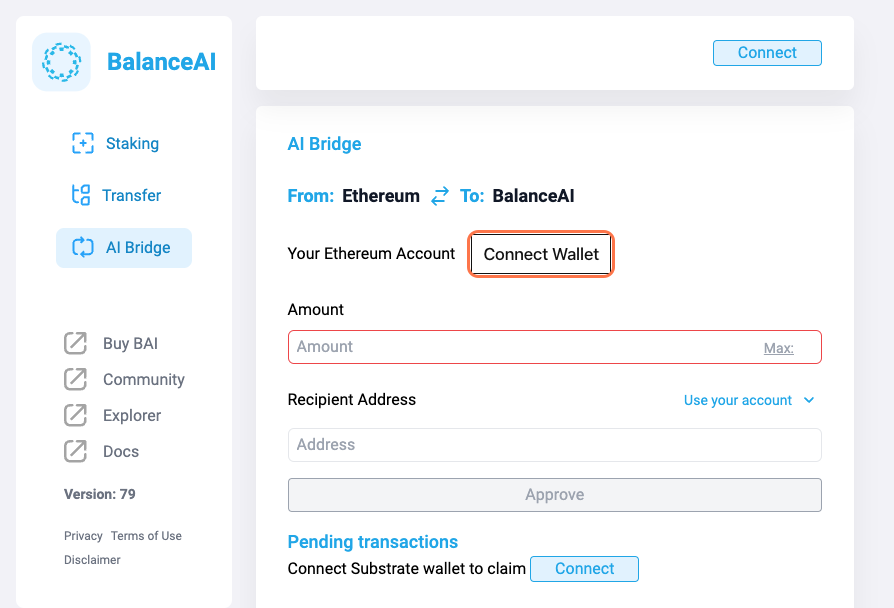
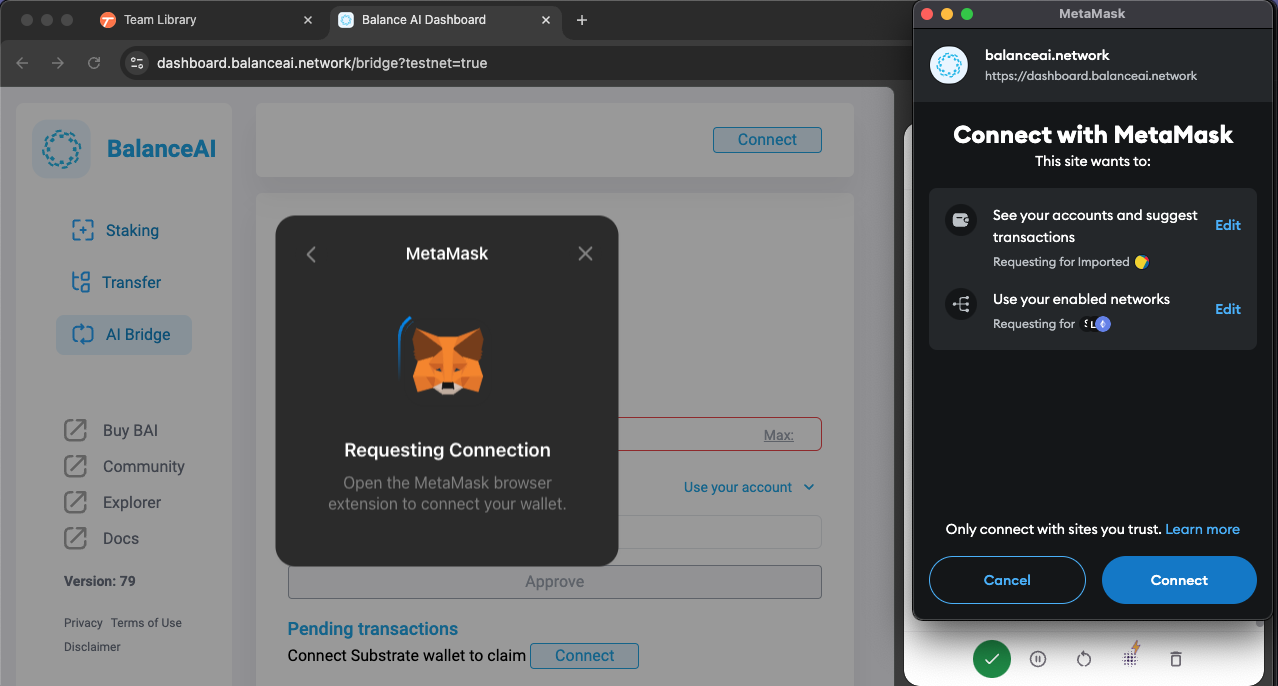
7. Click on Connect Wallet to establish a connection with your Ethereum wallet.
8. Click on MetaMask
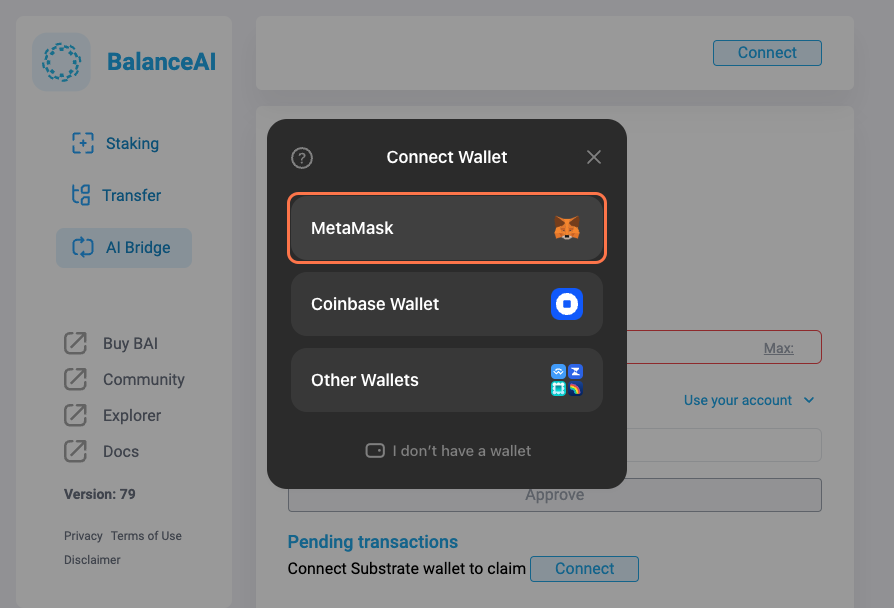
9. Sign your Metamask connection
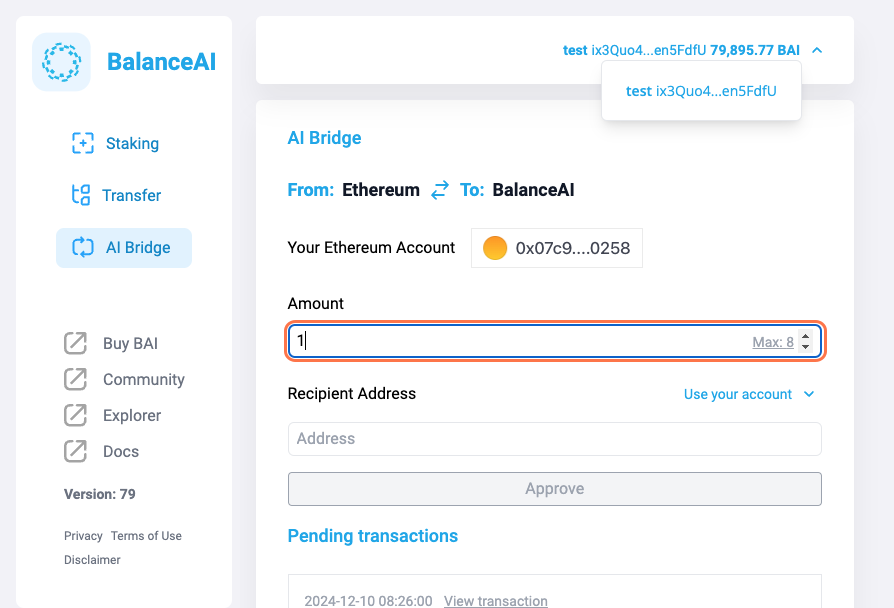
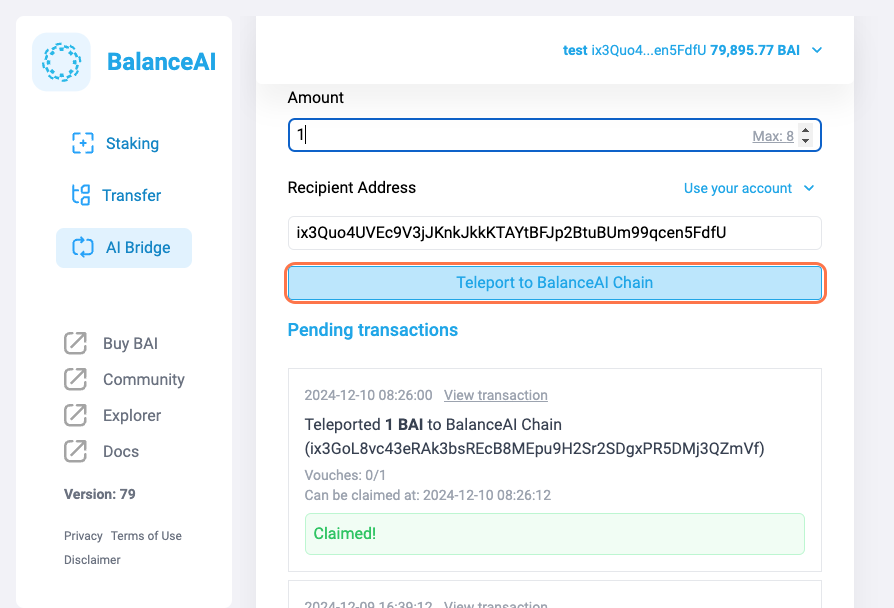
10. Enter your desired amount
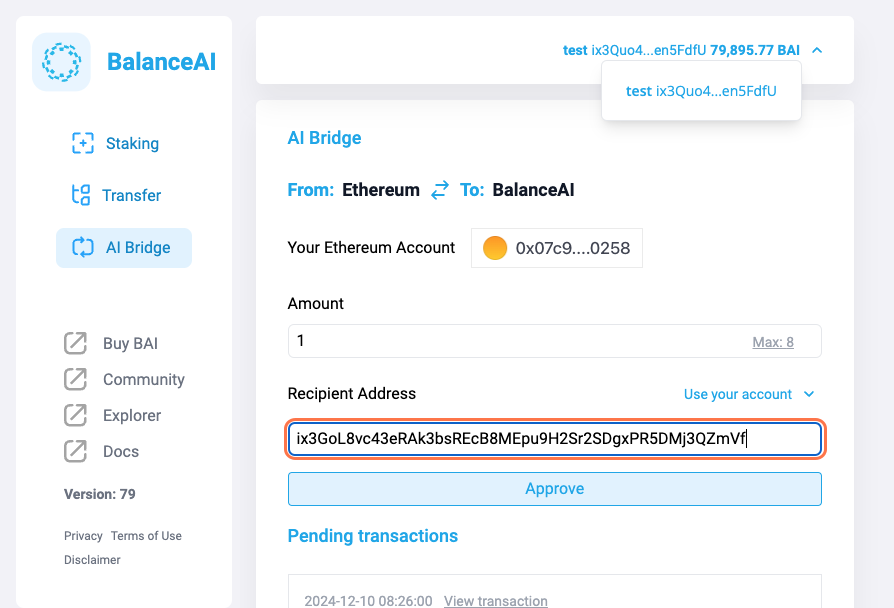
11. Insert your BalanceAI wallet address or click to use your account to select the connected wallet
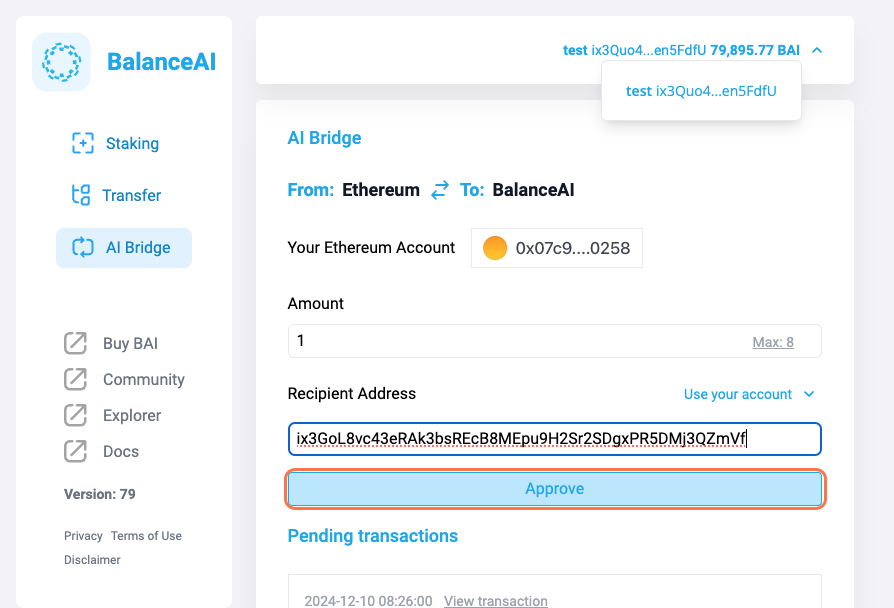
12. Click on Approve
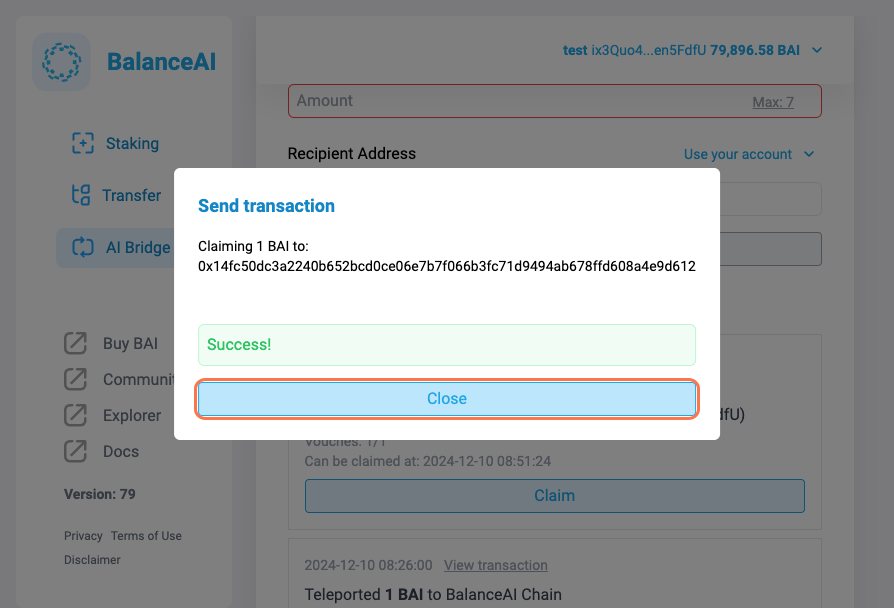
13. A Send transaction pop-up will appear…
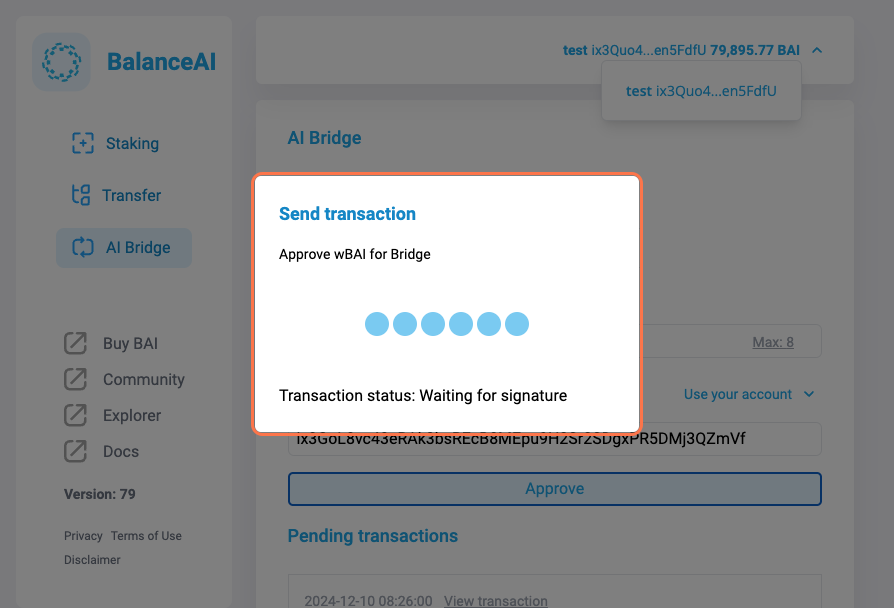
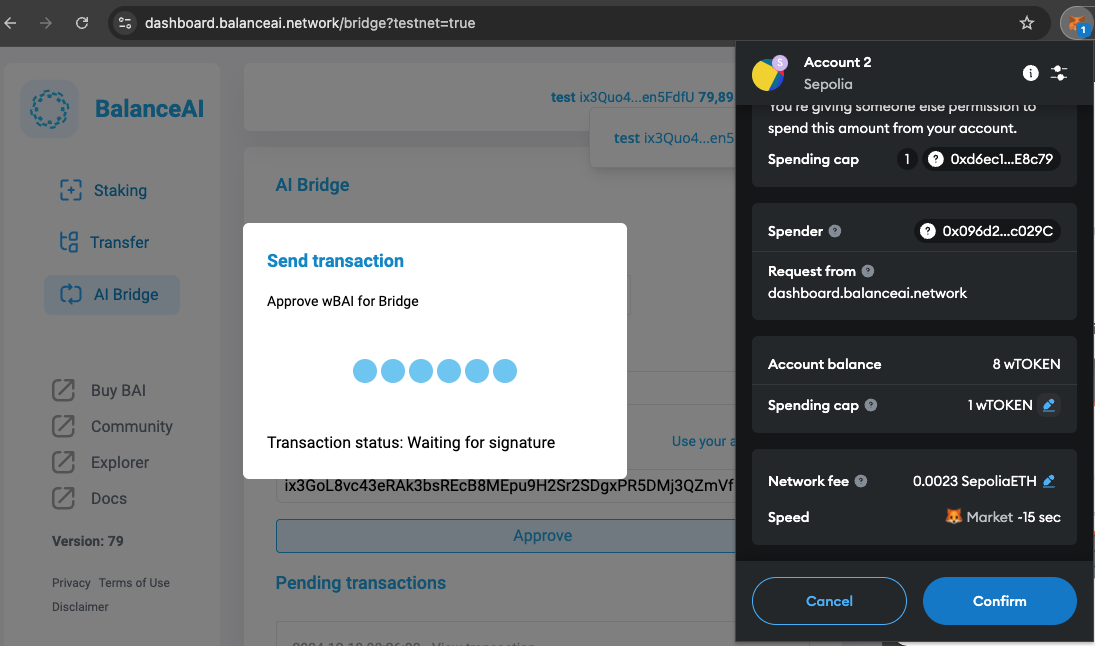
14. Confirm the transaction on MetaMask
Note: To avoid future fees on spending caps, you can increase the amount to a higher limit. This will allow you to bridge larger amounts in the future without incurring additional fees for this process. It's up to you
15. Click on Swap to confirm your action
16. Review your transaction details
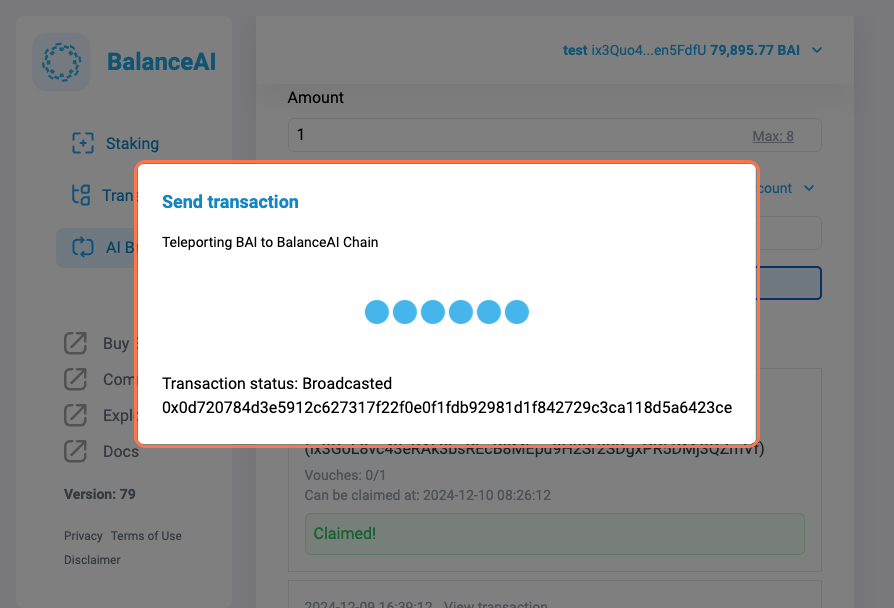
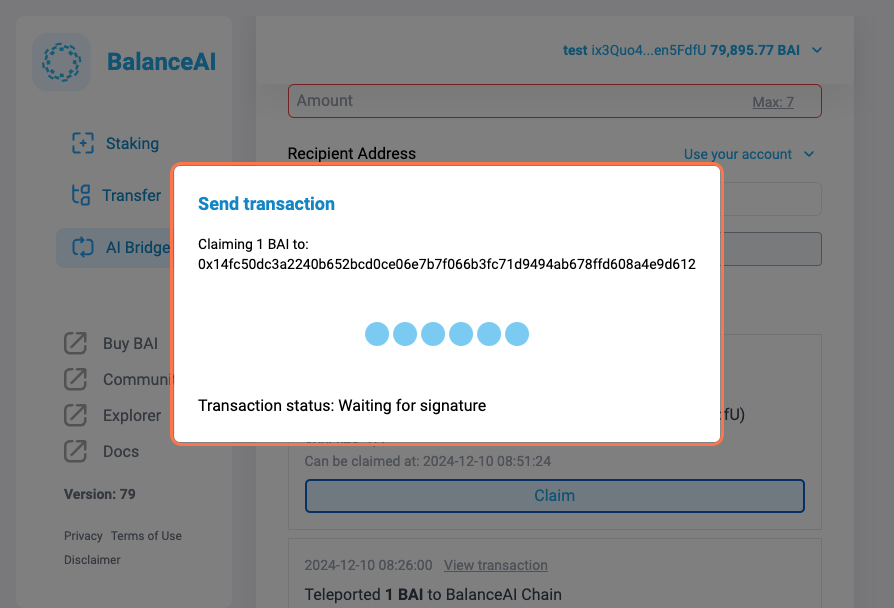
17. Wait for the transaction to be processed
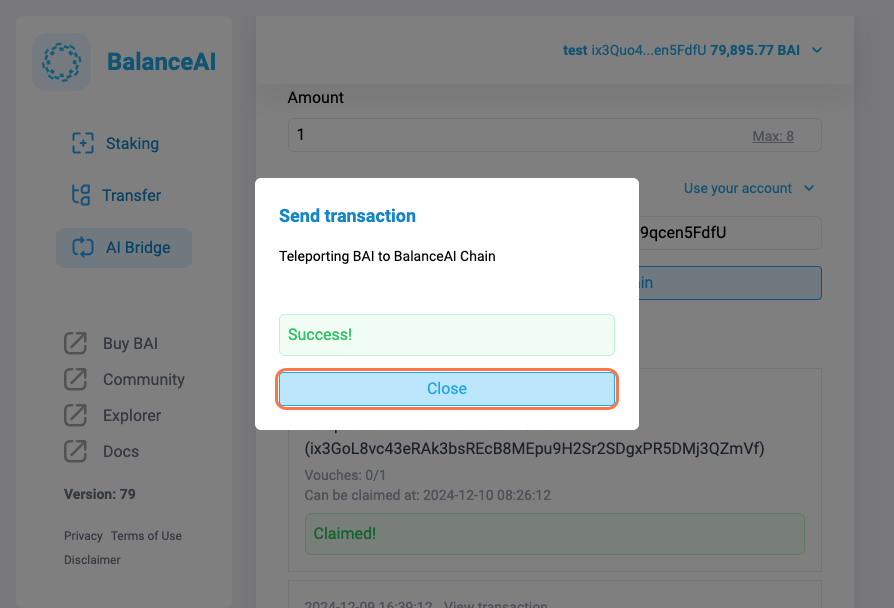
18. Confirm the transaction completion
19. The wrapped BAI (wBAI) tokens will now be available in your BalanceAI wallet
20. You can now view the wBAI balance in your BalanceAI wallet
21. Enjoy using the BalanceAI platform with your transferred wBAI tokens